One of my favorite bread pudding recipes has to be the one I created for my daughter Emma’s kindergarten class’ recipe book and bake sale. While the title says lemon and brown sugar, so much more goes into this delicious warm and cozy treat. It makes a perfect dessert with coffee and a generous dollop of whipped cream this Chanukah.
Here is the original recipe but today I am out of coconut flakes, blueberries and white chocolate so I’m doing a little creative substitution with dark chocolate, toffee bits, a teaspoon of cinnamon and cocoa powder. I also cut the recipe in half and used a Greek Easter loaf (Tsoureki) I had in the freezer for just such an occasion of craving! I’ll put the alternate recipe underneath the images and post.
So we’ll see if its as good as the first one!
Ingredients
- 1 loaf Challah bread, cut into 2-inch dice
- 6 eggs, beaten
- 2 cups heavy cream
- 1 cup light brown sugar, loosely packed
- 1 cup coconut flakes
- 1 cup white chocolate chips
- 2 lemons, zested
- 1 teaspoon vanilla extract
- Whipped cream, for garnish
- 1/2 cup blueberries, for garnish
- Powdered sugar, for garnish
- Coconut flakes, for garnish
- 1 tablespoon of butter for greasing the casserole.
Directions
Preheat the oven to 350 degrees F.
Put bread cubes into large bowl. Mix eggs, cream, brown sugar, zest, coconut, white chocolate chips and vanilla together; pour over bread. Mix well and let sit for a minimum of 15 minutes. Butter a casserole dish and pour the mixture into the casserole. Put into the top half of the oven until the center is slightly firm to the touch, about 30 – 40 minutes. Remove and serve warm, topped with whipped cream, blueberries, and powdered sugar.
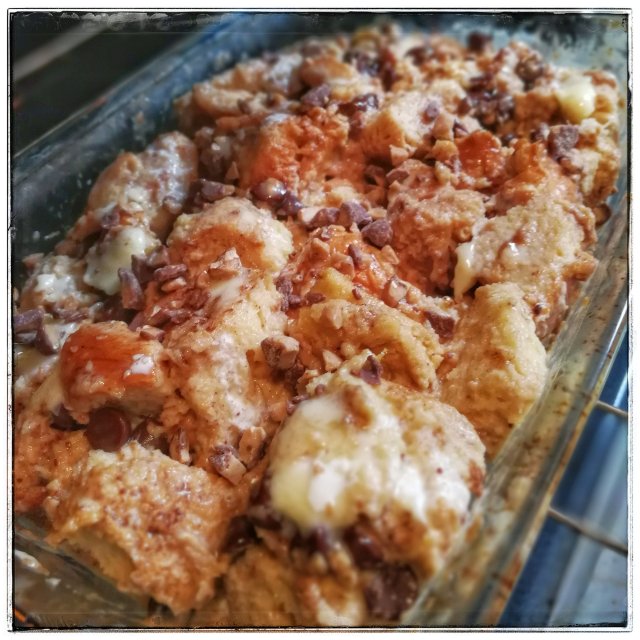
Here’s a shot of it just before putting it in the oven. I’m not sure if you can see that the chocolate chips are mixed into the mixture, whereas I just sprinkled the toffee bits on top.
Setting in the oven
So, the pudding has been in the oven for about 15 minutes and I went to the office to check on something. I was nearly knocked over by the fragrance that had escaped my kitchen and made its way down the hall. That combination of butter, chocolate, cinnamon and lemon is so satisfying. I can’t wait to see how this one comes out!
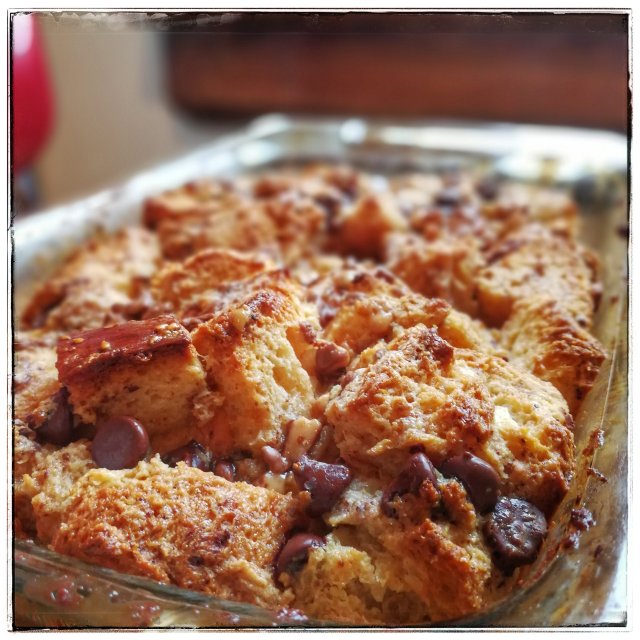
Turns out I cooked this one for 35 minutes exactly and here it is!
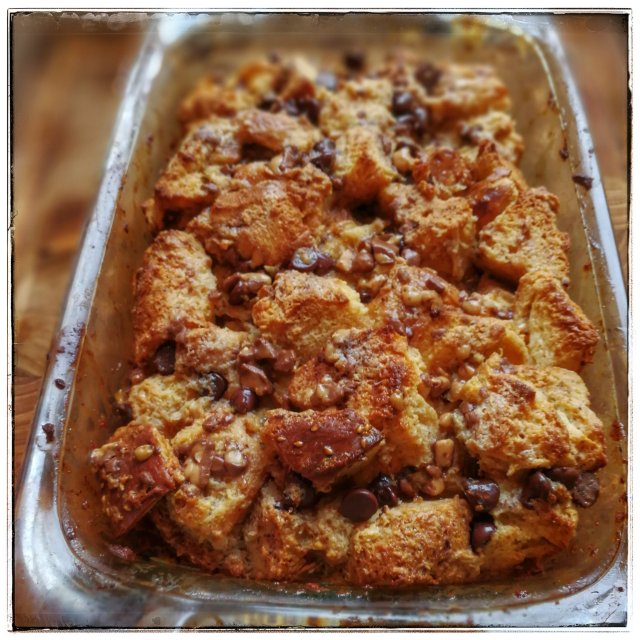
I took my first bite and it did not disappoint. It may even be my new favorite. I didn’t bother whipping up any cream. Its still morning for goodness sake!
I’m not the only one who wanted in on the action. Our new family member, Graham, tried to sneak a taste too! No chocolate for doggies, but he did get a corner of the bread and was simply lick-a-licously satisfied!

Alternate Recipe (halved)
- 1/2 loaf Tsoureki bread, cut into 2-inch dice
- 3 eggs, beaten
- 1 cup heavy cream
- 1/2 cup light brown sugar, loosely packed
- 1/2 cup cocoa powder
- 1/2 cup dark chocolate chips
- Zest of 1 lemon (about 2 teaspoons)
- 1 teaspoon vanilla extract
- 1/2 teaspoon cinnamon
- 1/4 cup Hershey’s milk chocolate-toffee bits
- 1 tablespoon of butter for greasing the casserole.


")


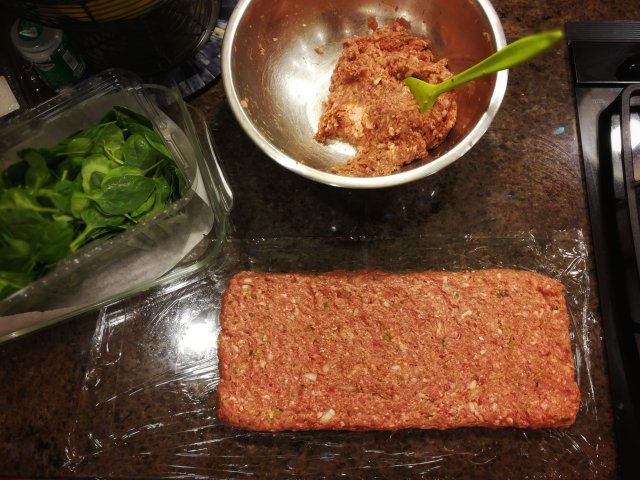
 What can you do with all those leftover celery stocks and carrots from your winter soups? Chop a few up and throw them in with a tomato sauce and a pound of ground beef and you’ve got a Bolognese that is simple, warm, comforting and satisfying.


 One of my favorite classic treats are Nestle’s Toll House Chocolate Chip Cookies with walnuts. Another favorite of my sweet treats is coconut with chocolate and almonds (as a kid it was the Almond Joy). On this day I was craving the comforting feeling of those treats and with a freezer filled with almonds and a vat of coconut oil, I came up with a new twist on a classic: Chocolate Chunk-Almond Cookies with a Twist of Coconut & Rum.